Exporting a Project
A complete Stellar Project can be stored and shared as a Zip archive. This means that if you want to share the Project your are working on Stellar, you can just export it and then send it to another user to load in their Stellar. The Zip file can contain all the media, audio elements and text files (subtitles, captions, transcripts etc.).
Files → Export → Project

In the Export Project window, you have the option to set the Export Path and set what the Zip folder will contain.
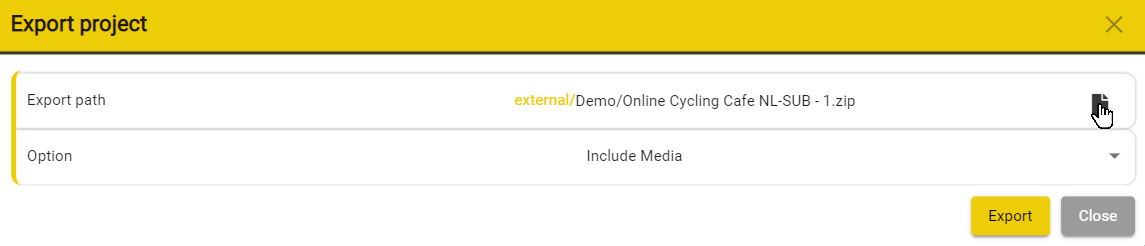
To set the Export Path click on the File Icon on the right side. This will open the file browser which will allow you to select the path where the project will be exported.
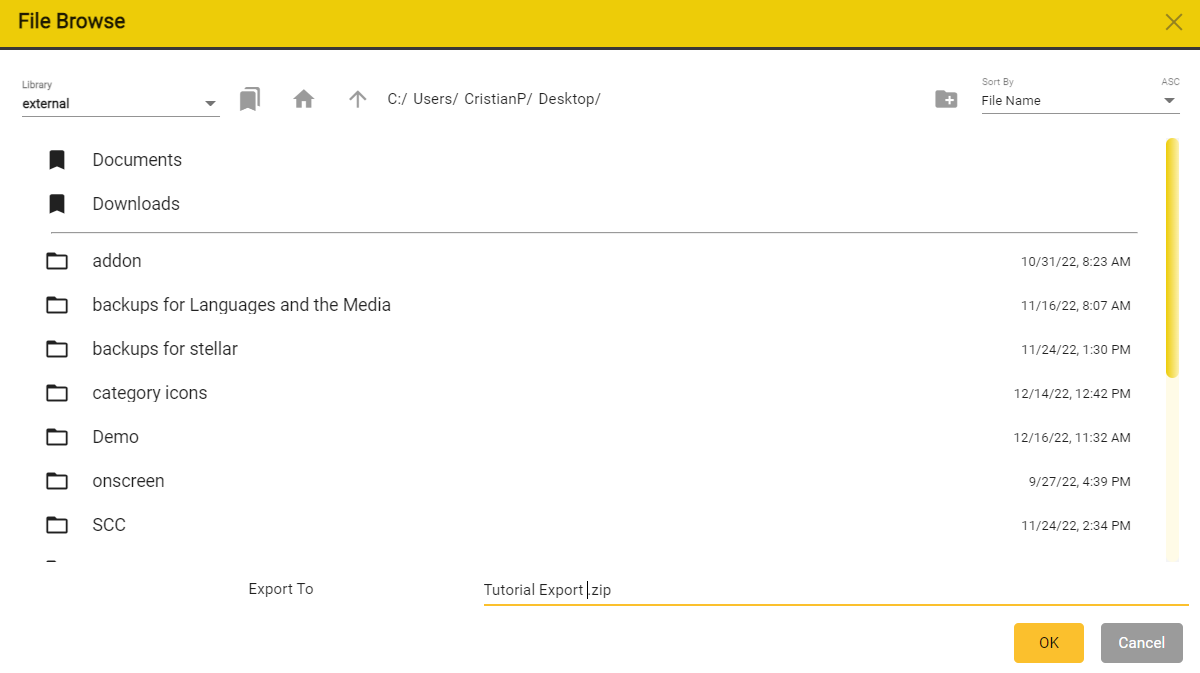
When renaming the project, please do not remove the .zip in the name.
Once you have navigated to the location where you want to save the project and you have set the desired name for the project, you can press OK.
To select the files that will be included in the Zip file, you can use the drop down menu in the Option row.
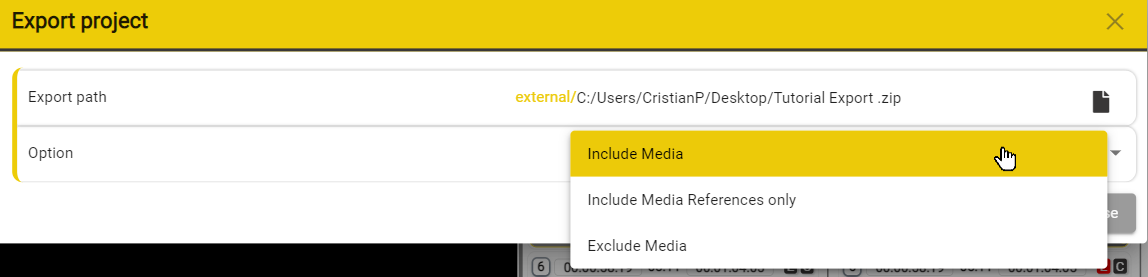
Include Media – This is the default is to include all the files that make up the Project. – This will create the largest Zip file.
Include Media References only – This will include links to the media file(s) but not the files themselves- This will be a smaller Zip file and still maintain references to the media file(s).
Exclude Media – This will include just the text files and AD audio files and their settings. This will be small and all links to the video and other media files will be lost.
After selecting the files that you want to be included in the Zip file, you can press Export to start the export process.
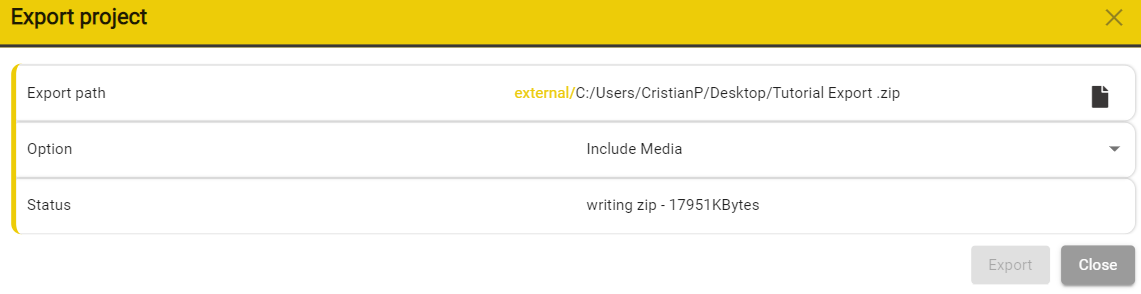
During the exporting process you will be able to see a Status indicator in the UI which will indicate the status of the exporting process.

Once completed the Open File Location button will be enabled.
-
Click on the Open File Location button to see the new Zip file in your Windows File Explorer or Mac Finder.
-
Close the Export Project window.