Working with Timecodes
Making sure the timecodes are correct can be complex and confusing. The first step is to make sure you know what output type and timecode you need. Stellar will try and make sure that the video timecode and frame rate (FPS) is recognised and the selected automatically. Stellar will also try and find any Slate or pre-roll section in the file if it can. Then will set the Video Offsets accordingly.
By default the video start timecode will be either Zero (00:00:00:00) OR the timecode found in the video file, with the possibility of a Slate or pre-roll section being recognized and taken into account.
Unless you’ve been told otherwise you should work with the timecode of the video file.
If you know Stellar is not showing the timecode you need you can set the start timecode yourself.
What timecode should I set?
You can either:
Assume the first frame of video should be a specific time, normally 00:00:00:00 or 10:00:00:00
OR
-
Use any burnt in timecode in the video picture to set the first frame.
-
The main help section on setting the Video Timecode is here
Quick Method
-
Move the video show it displays the first active frame. This would normally be either the very first frame, or the first frame after any pre-roll, colour bars etc.
- If there is a burnt in timecode it will probably show 00:00:00:0 or 10:00:00:00 or possibly 01:00:00:00
- If there is a burnt in timecode it will probably show 00:00:00:0 or 10:00:00:00 or possibly 01:00:00:00
-
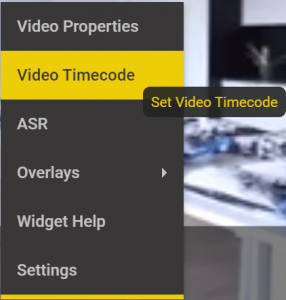
Right click in the video area and select Video Timecode
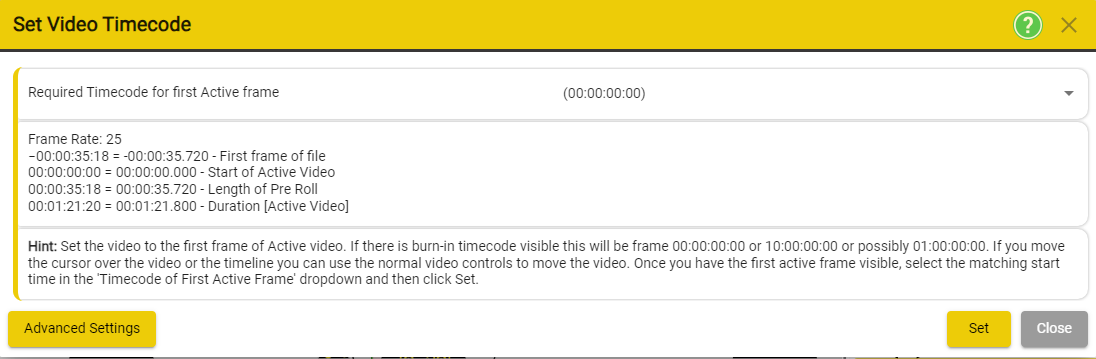
Basic Settings
- From the dropdown, select the correct timecode for this frame:
– 00:00:00:00 - 0-based
– 01:00:00:00 - 1 hour-based
– 10:00:00:00 - 10 hour-based
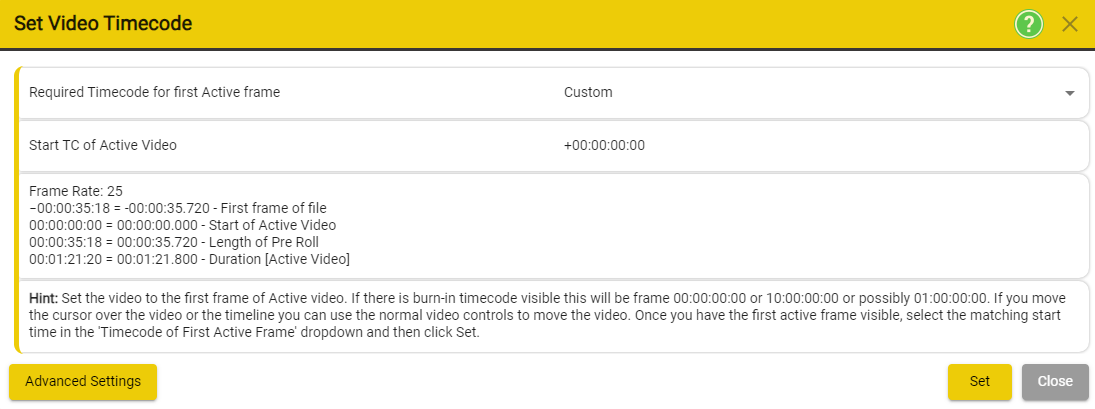
– Custom - if you have a different timecode. It will make available another field in the window which will allow you to set the Start Timecode of the Active Video.
- Click Set
- Now the burnt in timecode should match the Stellar timecode

Advanced
The advanced options give you more control when setting the timecode for the video.
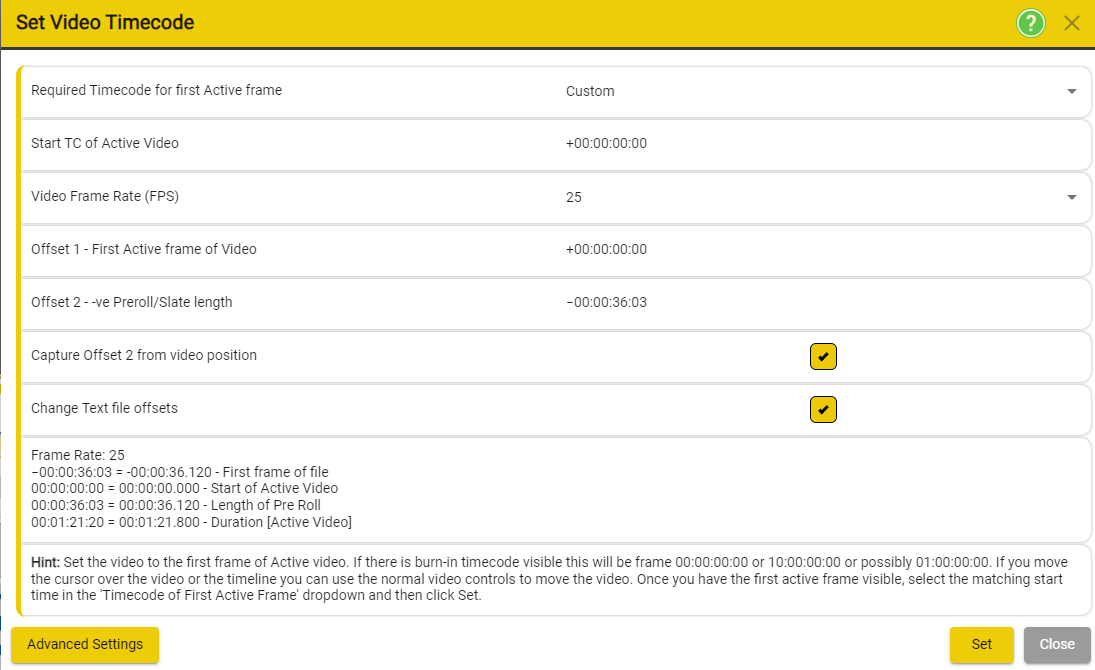
– You can change the Video Frame Rate by using the drop down.
– Offset 1 - Is typically set as the Timecode of the First Active Frame of the video.
– Offset 2 - Is the difference between the actual start of the file and and the First Active Frame of the video.
– Capture Offset 2 from video position - Will automatically calculate offset 2 for you. Check the box and then move the video the first Active Frame of the Video. You can do this by moving the Set Video Timecode window up and using the Scroll wheel over the timeline.
- Change Text file Offsets - Check this box if you want the text file offsets to also be changed.
Checking the current settings of the video file.
-
Right click in the video window → Video Properties
or
Files → Project → Project Properties -
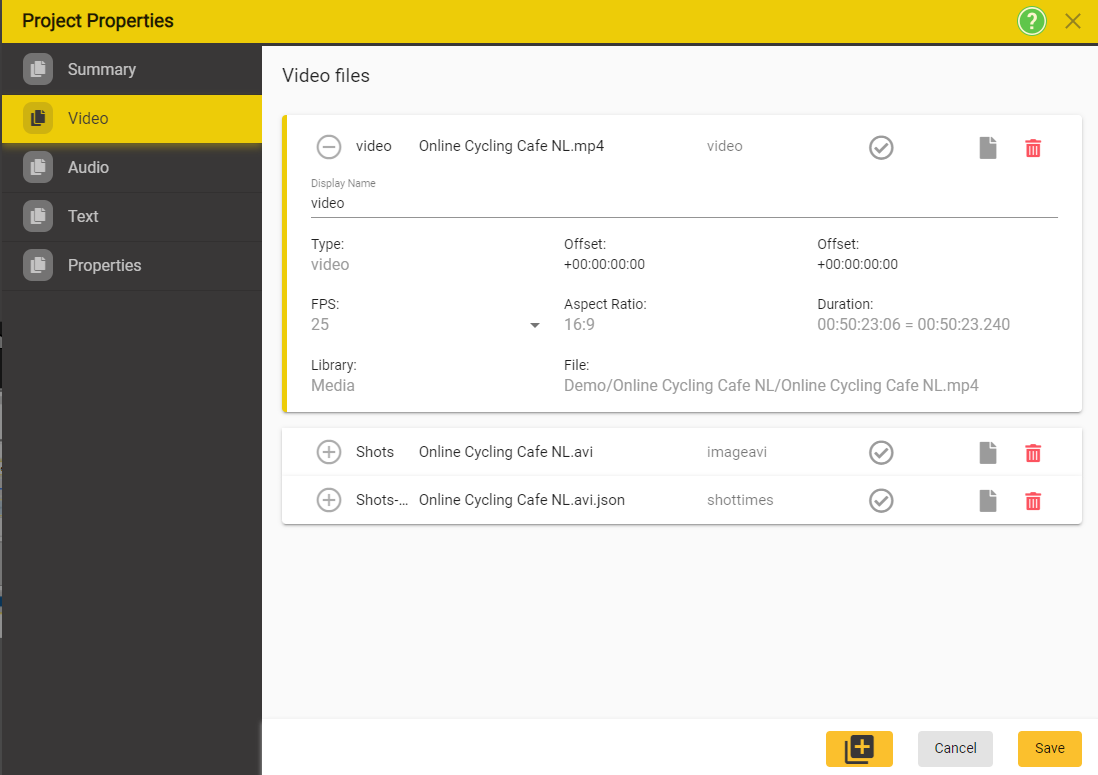
Select the Video Tab
-
Click on the video file to see its properties
-
The two important entries are FPS and Offset
-
FPS
- This is the frame rate or Frames Per Second that Stellar has detected for this video file.
- You can change it, but don’t if you’re not sure!
-
Offset
- This is the control you should change to get the displayed timecode to match the burnt-in timecode
- This sets a simple offset between the file start time and the displayed Timecode in Stellar
- Here it has been set to minus one to correct a one frame offset between the start of the file and the burnt-in timecode of the video.
- Offset 2 works in addition to the main offset and is used by Stellar when a Slate or Pre Roll is detected.
-
FPS
- Click out of the offset value, if you’ve changed it,
- Click Save.