Recutting
There will be situations when you will want the timecode of your subtitles to match the timecode of the video.
Making sure the timecodes are correct can be complex and confusing.
The first step is to make sure you know what output type and timecode you need.
Stellar will try and make sure that the video timecode and frame rate (FPS) is recognised and the selected automatically.
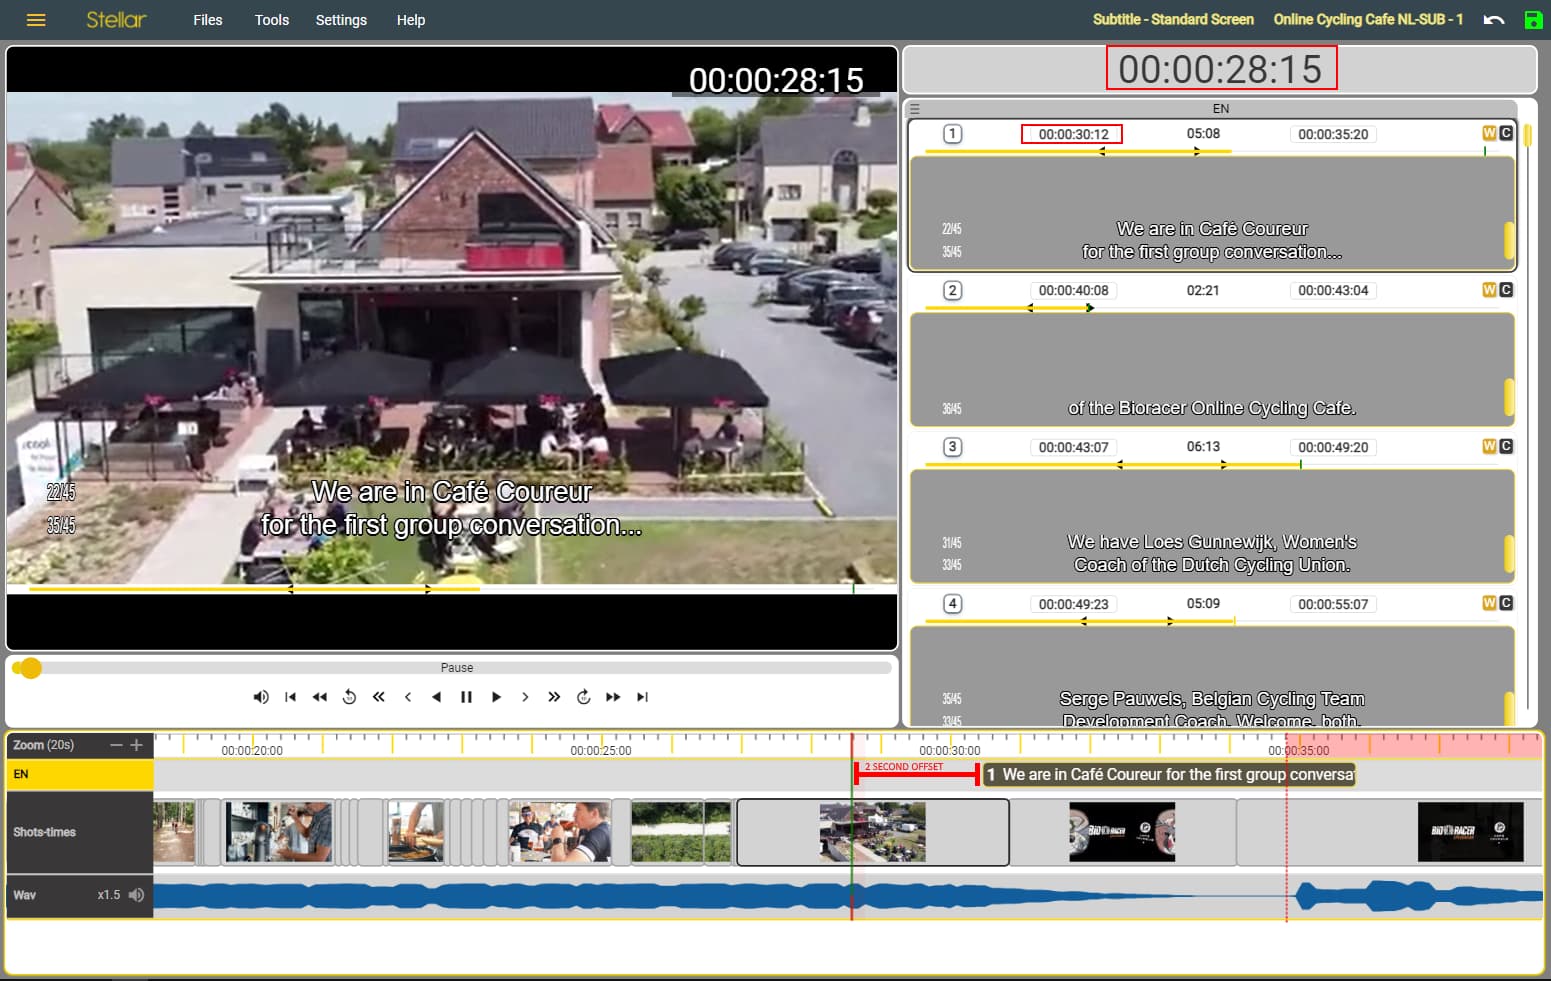
However the subtitle (or other text file) you are working with may not match the timecode of the video. There are many reasons why this can happen, a common one is the slates or bumpers have been added or removed from the video since the subtitle file was created.
This type of problem creates a fixed offset between the video timecode and the times in the subtitle file.
Stellar allows you to change all the times in the subtitle file by a fixed amount, this is referred to as Recutting.
- Recutting is a different process from Offsetting:
-
Offset:
- A time offset is applied inside Stellar to make the timecodes displayed match up.
- No timecodes in the subtitle or AD files are changed
-
Recut:
- Some or all timecodes in the subtitle or AD file is modified
-
Offset:
How to recut your subtitle file:
- Open or create a Project with the correct video and the subtitle file.
- Work out what the offset is, if you don’t already know.
- The simplest way to do this is find the first subtitle that contains dialog, ignore subtitle zero and any title translations for example.
- Jump the video to the start time of this subtitle (Double click on the subtitle number or do Ctrl+ Shift+J.
- Now shuttle the video to find the timecode where this dialog starts.
- The difference between the subtitle in cue and the current timecode is the offset you need. Remember this could be negative or positive.
-
Now you can Recut the file
Tools → Timing Tools → Timing Recut -
OR Right Click on the file you want to recut in the Timeline display → Timing Tools → Recut
-
Or use the default hotkey Shift + CTRL + O
This will open the Recut dialog.

- Change the timecode either by entering a value, by using the arrow keys or with the mouse wheel.
- You can either recut the whole file or just subtitles after a specific time.
- To do this click on the ‘Recut only from current Title’ flag
- This will default to the current subtitle but you can change this here.
- Click Recut
You have now recut you subtitle file.
Other Common Timecode Problems
-
The timecode is right at the begin of the video but drifts out as the media plays.
- This will be because the FPS (frame rate) set is wrong.
- Find out what the frame rate of the video is. Files → Project → Project Properties then select the Video tab.
- Set the FPS value using the FPS drop down list to the correct value.
- Check again.
-
The video starts at 00:00:00:00 but I’ve been told the subtitles need to start at 10:00:00:00
- This is the same problem as making sure the video time has the correct start time but you need to set the Files → Project → Project Properties → Video Tab → Video timecode offset to +10:00:00:00.
- Now any timecodes captured will have the correct timecode.