Choose Microphone
Stellar provides a set-up process for your microphone to ensure that your recordings have good quality. To start the calibration process please click on the Microphone button.
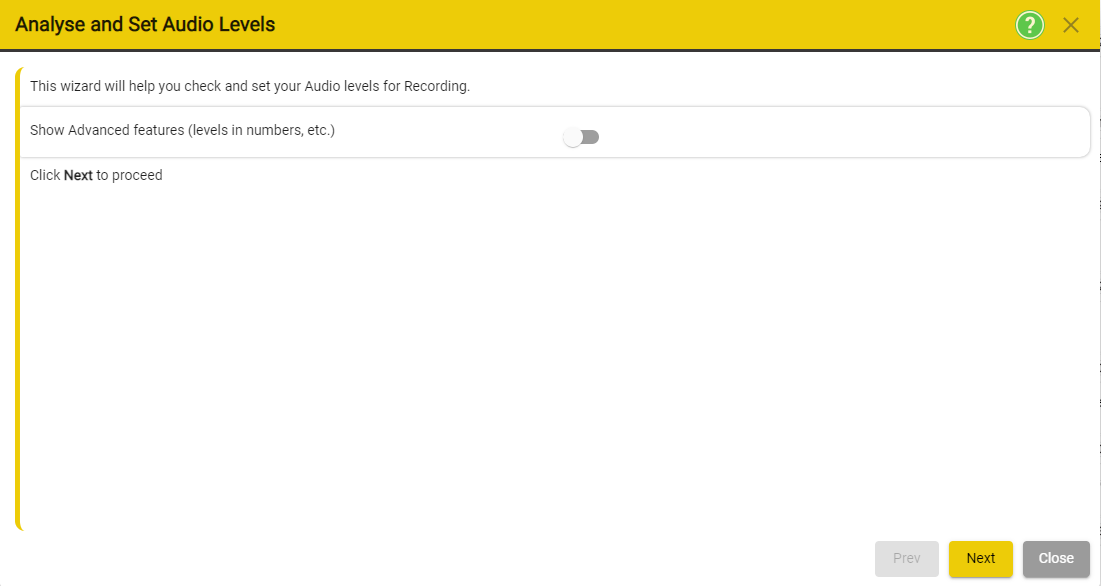
You can enable the - advanced features - by clicking the toggle button. Show Advanced features will provide more details during the set-up process.
Press Next to proceed to the next step.
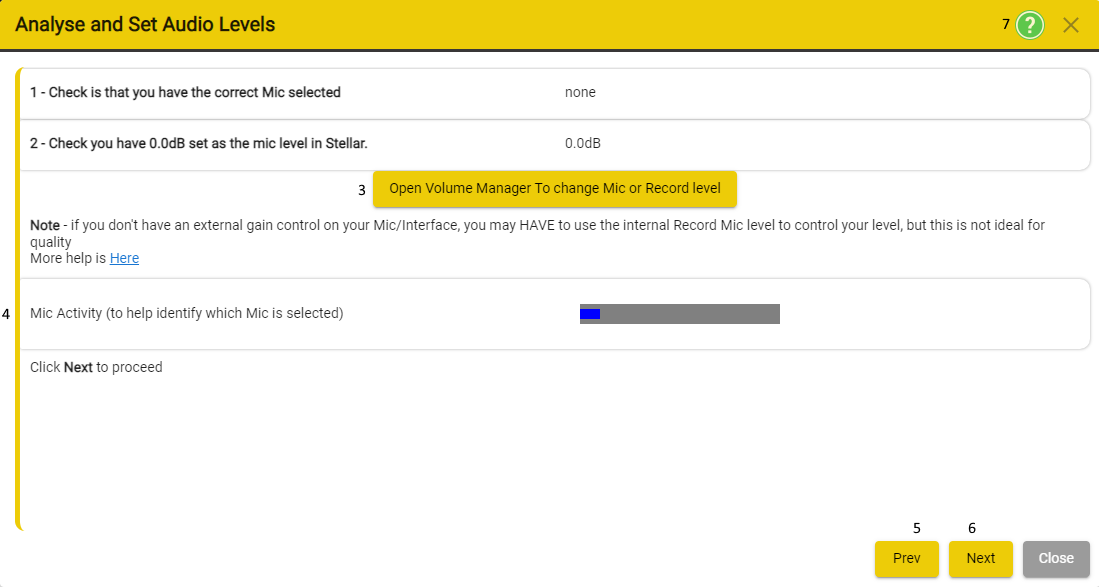
a) Check if the you have selected the correct microphone.
When you are doing this for the first time, it will show none. That is because you have yet to select any of the available microphones.
b) Check you have 0.0dB set at the mic level in Stellar - will be set using Volume Manager button.
c) Open Volume Manager to change the active Microphone or adjust Recording levels.
* Select one of the available microphones from the list.
* Adjust the levels of the Microphone/Microphones and for the Recording.
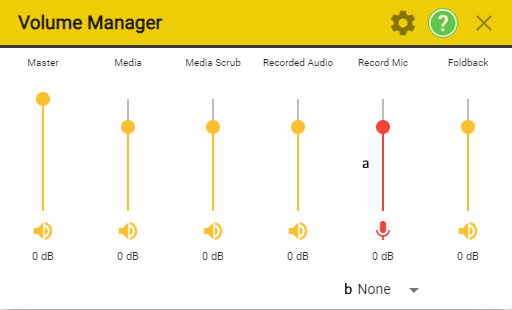
To access the Volume Manager - press Open Volume Manager To change Mic or Record Level.
-
Allows you to adjust the level of the selected microphone.
◊ Red if there is no Microphone Selected
◊Yellow if there is a Microphone Selected -
Allows you to select one of the Microphones which are currently available to be used in Stellar.

-
Once you have selected a Microphone from the list, Stellar will be able to use that Microphone and you will able to adjust it so that the you are able to create quality recordings. The name of the Microphone you have selected will appear both in the Analyse and Audio Levels windows and in the Volume Manager. Furthermore, at this point you should see the Mic Activity - the blue bar on dark grey background - move as the microphone detects sound.

If required, for example if the Microphone level is not 0.0dB, you can use the Record Mic slider - move it up and down - to adjust the dB value until it shows 0dB.
Microphone Calibration
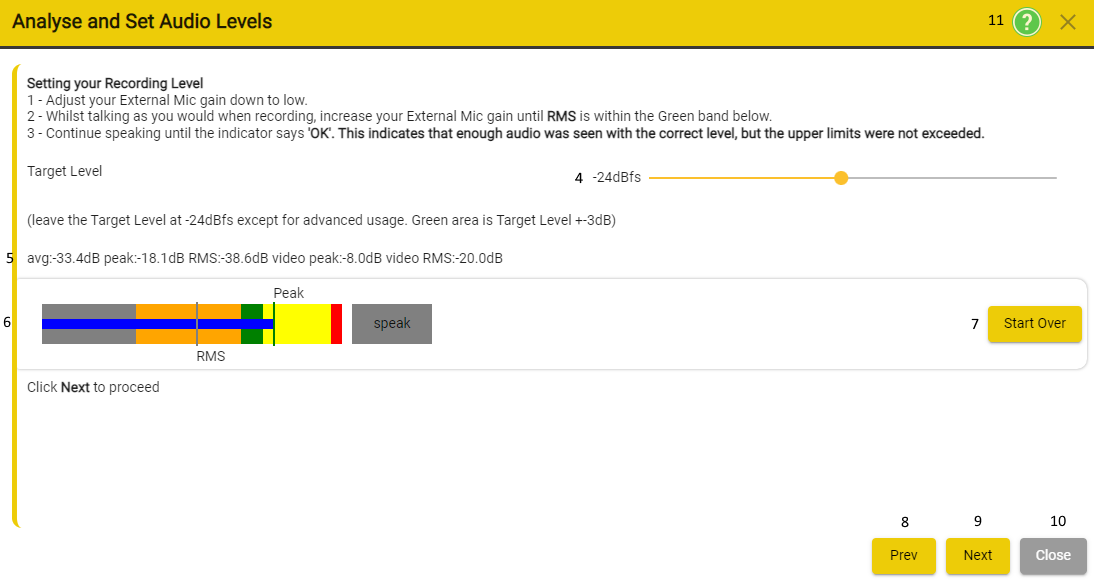
1 Adjust your External Mic gain down low
2 Whilst talking as you would when recording, increase your External gain until RMS is within the Green band below.
3 Continue speaking until the indicator says “OK”. This indicates that enough audio was seen with the correct level, but the upper limits were not exceeded.
4 Target level - slider allows you to move the colored areas presented in section 6.
5 Numerical values for the colored areas presented in section 6.
6 Visual representation of the volume areas - used for the microphone calibration process.
7 Allows you to restart the microphone calibration process.
8 Takes you back to the previous step - where you were able to chose the microphone.
9 Takes you to the next step.
10 Exit the calibration process.
11 Help
Calibration Process
In order to calibrate the microphone that we are going to use to record, we will use the UI presented above.
Depending on the type of microphone that you have - you might be able to (1) Adjust the External Microphone Gain. Most microphones have a Knob labelled as gain - please set that Knob to low.
In section 6 ( the grey band that contains several colours) you will see the RMS Marker (vertical line) and the Peak Marker (vertical line) move while you speak.
The goal of this process is to use the external gain Knob to increase the gain of the microphone until the RMS Marker is constantly in the Green Band while you are speaking normally.
Working with the visual UI
-
Initially, the UI will looks similar to image bellow.
RMS Marker and Peak Marker will be moving around, but they will not be in the right colour bands. The Speak button will also have a dark grey colour.

-
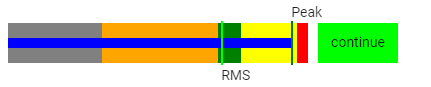
While talking, the RMS Marker might go into the Green Band without having do any major adjustments. When the RMS Marker enters the Green Band, it will look like this:

-
Continue speaking normally until the Speak button changes from “speak” on grey background to “continue” on green background.
-
When the RMS Tracker remains in the Green Band while you are speaking normally, after some time the “continue” button will change into “ok”.

-
When you see the “ok” button, your microphone levels are correct and your microphone is calibrated. You can click next to proceed to the next window.
Silence level detection
- Enable/Disable Automatic Silence Detection
- Allows you to go the previous step.
- Close the recording set-up.
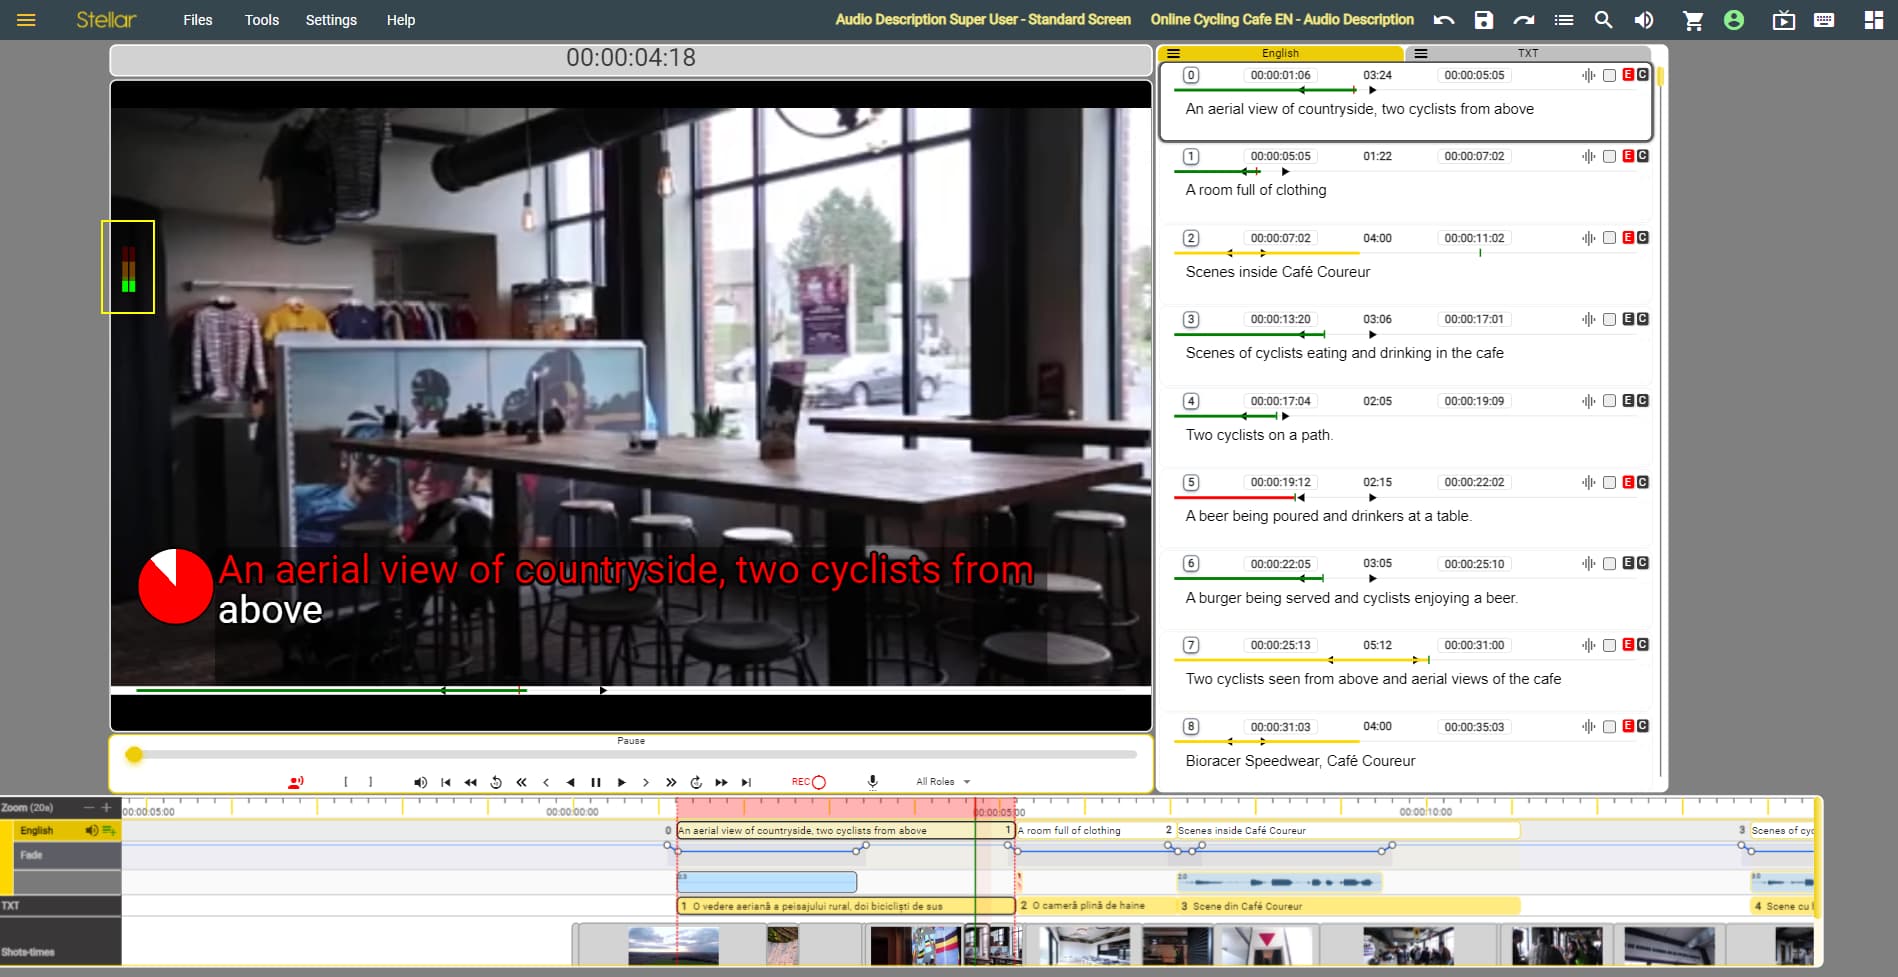
Once you have finished the Microphone Calibration process - the Microphone Level indicator in the upper left side of the video player will oscillate while you speak. This will occur even if you are not actively recording.